We can help the bats by realizing and installing a shelter for them directly at school.
Let’s see together, step by step, how to build it!
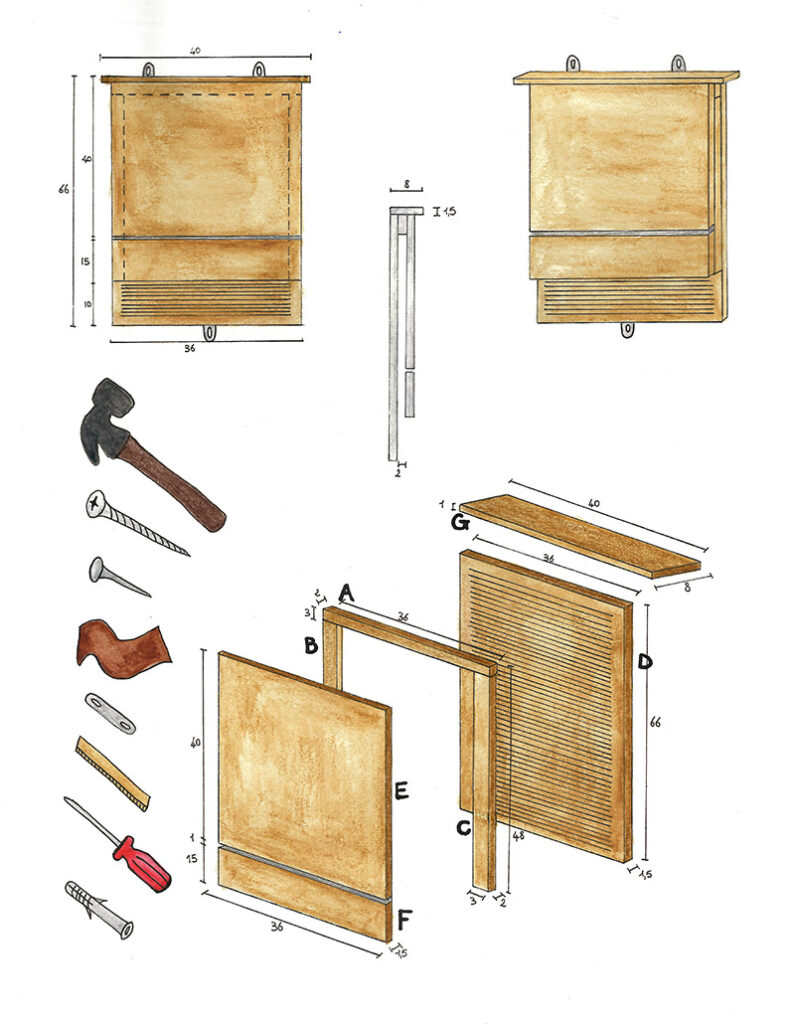
Needed materials
For the realization of a wooden bat box, you will need slats and boards (measures reported below), minimum thickness of 1.5 cm. They should preferably be made of poplar plywood, better avoid conifers such as pine and fir because of the resin they produce.
- 1 board 40x8 (roof)
- 1 board 36x66 (rear wall)
- 1 board 40x36 (high front wall)
- 1 board 15x36 (low front wall)
- 1 slat length 36 cm, section 3x2 (upper) 2 slats length 48 cm, section 3x2 (side)
Necessary equipment
- Sandpaper Hammer
- Nails (wide head, length 3 cm) Ruler
- Punch or screwdriver
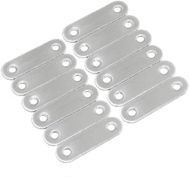
- 3 plate hooks
- Screws to fix hooks to the bat box
- 3 plugs to fix the bat box to the wall
Realization
First of all, we suggest you to smooth all the pieces with sandpaper, to remove any splinters that might hurt you during their assembly.
Once finished, take the boards and engrave small grooves (parallel and spaced of about 1 cm) a few mm deep, only on one side (the one that will then be placed internally), using an awl (or screwdriver) and a ruler. Bats will use them to climb, as by a ladder, inside the bat box.
Then proceed to the assembly as shown in the image. We suggest that you assemble the rear wall first with the slats and then add the front wall panels. This will allow you to work more correctly. In order to avoid draughts, the bat box must be well built and never treated with fungicides or nitro-based paints.
Once finished, we recommend applying a brown water-paint to the bat box, to protect it from the weather and lengthen its life.
As soon as the paint has dried, apply the 2 hooks (one at the top and one at the bottom of the centre) and proceed to the placing on the school walls.